

5 Scintillating Science Experiments You Can Do at Home
One of the best ways to learn is through hands-on experiments and practical work. They are fun, engaging and some even get the adrenaline pumping. One of the best subjects for practicals is science. Science has a unique mystical flair, it is varied, ever-changing and eternal. After all, “magic is simply science that we don’t understand yet”.
Students revel in practical application in a classroom, they are the lessons that stick within your memory. For example; one of my favourite lessons of all time was determining the calories within a food item by burning it under a bunsen. This is impressive for me, as I normally can’t even remember what I had for dinner last night.
We all know the disruption the covid-19 pandemic has caused in the classroom with the introduction of online lessons, social distancing, etc. It is not a conducive place to hold experiments anymore. But that shouldn’t stop students from giving them a go at home! The following experiments are all easy enough for anyone to try (even the parents) and the best news is you probably have everything you will need to conduct them already. Jackpot.
Experiment 1: Glitter Germs

Equipment List:
- A shallow dish or bowl
- Water
- Washing up liquid
- Glitter
This one has never been as topical as it is today. (No prizes for guessing why) It hit the social media trending lists because of its simplicity and because it conveys such an important message about proper handwashing and good hygiene practice. The experiment allows us to see “germs” and how they react to soap, providing a better understanding of what happens when you wash your hands and why it is important in reducing transmission rates for colds, cases of flu and covid.
There are some alternatives that you can use instead of glitter to represent germs; cocoa powder and pepper work really well. Although the latter has a possible side effect where you may sneeze into the water dish and spray water everywhere.
Instructions:
Firstly, pour water into the shallow dish or bowl until it is close to the top. Then, sprinkle the glitter or substitute glitter onto the surface of the water until it covers about ⅔.
From here there are actually 2 ways to proceed. The first way is by far the most fun and is guaranteed to get a “WOW” from anyone that has never seen or conducted the experiment before. Pop a small bit of washing up liquid on the end of a finger and marvel when the glitter scampers to the sides of the dish, leaving clean water surrounding the finger.
The other way is by pouring the liquid directly into the dish, which yields the same result but doesn’t have the same impact as the finger, which helps to simulate what happens when we wash our hands.
A simple, yet wonderfully effective little experiment that you can conduct anywhere in your home, requiring little effort but an excellent opportunity to learn!
Experiment 2: Carbon Sugar Snake

Equipment List:
- Aluminium pie tin
- Sand
- 1 teaspoon of baking soda
- 4 teaspoons of powdered sugar
- Small mixing bowl
- Lighter fluid / accelerant
- Lighter / match
Always wanted to release a demon looking creature into the world? I can’t say that I have but making a smouldering snake-like entity appear from nothing certainly is exciting! The product of this experiment is the result of 3 different chemical reactions all dependant on heat. These 3 reactions produce both the solid components of the snake in the form of carbon and sodium carbonate, as well as, CO2 and water vapour used to inflate the snake skywards. To learn more about the reactions taking place and have them broken down in detail, check out our selection of science tutors.
Please note: Always be careful when conducting experiments that involve fire. Be sure to only light what is instructed and in a well-ventilated area. Ensure you have access to water nearby. Tie back any long hair and do not try this experiment unsupervised by an adult or leave the flames unattended.
Instructions:
In a bowl, combine the 4 teaspoons of powdered sugar with 1 teaspoon of baking soda and mix well.
Take the pie tin, place it on a flat surface and fill it with sand so that it creates a small mounded heap in the middle of the tin. Take your thumb and make an indent in the top of the mound, roughly 3 cm deep.
Pour the lighter fluid/accelerant on the mound of sand so that it is well covered around the outside and within the indentation.
With precision, spoon the mixture of sugar and baking powder into the indentation created in the centre of the mound.
Lastly, carefully light the sand near the sugar mixture with the lighter or match. (This step should be closely supervised or conducted by the adult present). The mixture in the middle will begin to bubble and turn black. As it burns, watch the snake begin to grow and warp into some strange, mutated demon. It is a slow process, so I suggest grabbing some popcorn, leaning back and watch it unfold over the course of 20 minutes.
Experiment 3: Steel Wool Sparklers

Equipment List:
- Fine steel wool
- 9-volt battery
- Aluminium pie tin
With the 5th of November rapidly approaching and the significant lack of bonfire night celebrations over the last 2 years. This experiment is perfectly suited to add to the mystique, warm glow that this night of celebration presents. Grab some friends, gather the equipment and create your own little sparklers in the garden.
When an electrical current is introduced into the steel wool, the electrons from the battery move rapidly through the wool as a complete circuit has been created between the 2 battery ends. This current heats the wire up to around 700 degrees, this heat causes the iron to react with the surrounding oxygen. The result of the chain reaction is a sweet sparkle, perfect for bonfire night.
Please note: Always be careful when conducting experiments that involve fire. Be sure to only light what is instructed and in a well-ventilated area. Ensure you have access to water nearby. Tie back any long hair and do not try this experiment unsupervised by an adult or leave the flames unattended. Conduct the experiment in a dry, clean, accelerant free area.
Instructions:
Pull the steel wool apart into thin strips and then curate it into a loose ball. Measure the weight of the steel wool and record the data.
Place the newly formed steel wool ball into the middle of the aluminium tin away from the edges.
Take the battery in hand and touch the connector end of the battery against the steel wool.
Take a step back, taking the battery with you and admire your sparkling, glinting sensation crackle and pop in front of you. For best results, conduct the experiment in a low light environment. If you feel especially courageous, why not try blowing on the steel wool whilst it is reacting - what happens?
The final step, once the wool has cooled down and the reaction has stopped. Take the wool and place it on the scales. I won’t spoil the result - spoilers ruin everything.
Experiment 4: Capillary Action Rainbow

Equipment List:
- 3 small empty glasses
- water
- 2 different colours of food colouring (preferably, yellow and blue)
- 2 paper towel sheets
Have you ever stopped to consider why some trees grow exponentially and reach heights that dwarf their leafy neighbours? One of the main reasons is that these trees have deep root systems that are able to access water deep in the soil. But how does the tree get this water from deep underground to its leaves? The answer is capillary action. This experiment helps to demonstrate capillary action by modelling the process as water moves from one cup to another.
We see capillary action taking place every day without noticing it; I have already mentioned the role it plays in plants, but also, the drawing of ink to the nib in a pen, sponges and mercury rising in a thermometer to name a select few.
Instructions:
First, fill 2 of the 3 small glasses with water until they are all ¾ full. Place the empty glass in between the 2 filled glasses.
Next, take the 2 different colours of food colouring and assign each to their own glass filled with water. Once they have been assigned, add 4 drops of each colouring to the glass of water the colour has been assigned to. The reason for the colouring is it will help to observe the process of capillary action easier. Give the water in each glass a stir to fully mix the colouring and the water.
Take one paper towel sheet and fold it in half twice to create a long thin piece of paper towel. Place one end of the paper towel into the empty glass and the other into one of the coloured waters. Repeat this process for the other glass of water so that you have 2 paper towels funnelling into the empty glass from the 2 different colours of water.
The next part is optional but I for one enjoy singing and referring back to my time in art class as I watch the results of capillary action take place before my eyes. Make sure you take notes on what is happening in the empty glass and why!
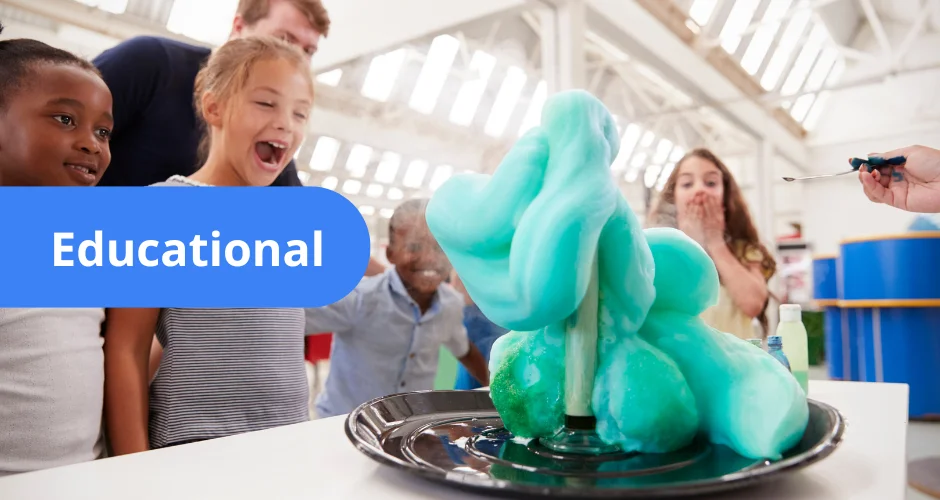
Experiment 5: Fizzy Drink Volcano

Equipment List:
- A 2-litre bottle of Diet Coke (or alternative, I won’t be dragged into the Pepsi vs Coke battle here)
- A roll of mento mints (or alternative, I won’t be dragged into the Trebor vs Mento argument either)
- Sticky tape
- 1 piece of strong paper or card
I am well aware that I won’t be the most popular person among parents for suggesting this experiment as it can cause a large mess. I will preface this with, if you decide to conduct this experiment inside then that is on you, don’t blame me for the mess it caused. Make sure you do it outside in the open air as it will minimise the cleaning required.
The explosive reaction that ensues is due to the chemical reaction taking place between the sweetener of the mint and the drink itself, causing lots of carbon dioxide bubbles to form quickly, building pressure in the bottle and sending a jet of those bubbles flying out of the bottle.
Instructions:
Remove the cap from the lid of the fizzy drink and place the bottle on a secure flat surface like a table or flat patio.
Roll the paper into a tube and use the tape to ensure that it keeps its shape. The tube created should be wide enough to fit a single mint and long enough to hold the entire roll.
Using one finger to cover one end of the tube, slowly fill the tube up with unwrapped mints. The more you can fit in the tube, the more spectacular a show you will see. Make sure that the paper is unbent so that the mints will easily fall through the tube when you remove your finger.
Hold the tube of mints over the top of the bottle. Count down in your best action hero ticking time bomb voice, once you finish the count down, dump all of the mints into the fizzy drink bottle as quickly as you can, then step back and watch a cacophony of fizzy drink explode out of the bottle.
Looking for a tutor that can help you conduct more practical experiments at home? Check out our list of qualified UK teachers who all have experience in putting on practical lessons in a classroom.
James Gurnett
30th September
Looking for a tutor?
Sherpa has hundreds of qualified and experienced UK tutors who are ready to help you achieve your goals. Search through our tutors and arrange a free 20 minute introduction through our industry-leading online classroom.
Find a TutorSimilar Articles
How are exams different in 2022?
2022 brings the return of every student's favourite villain, which make Thanos look tame in comparison. Exams.
James Gurnett
30th September

